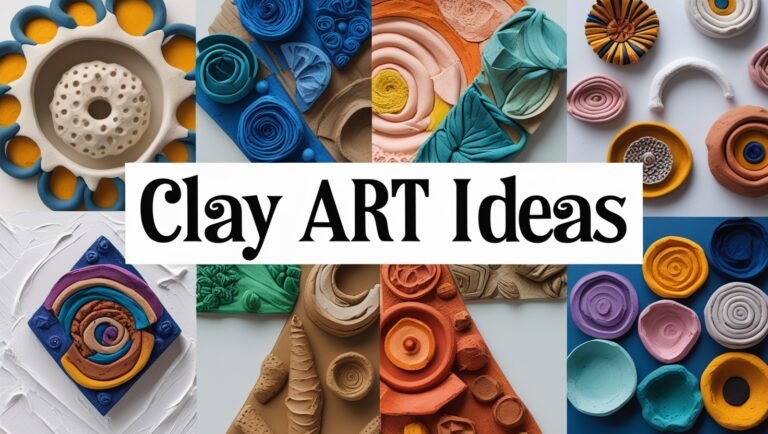
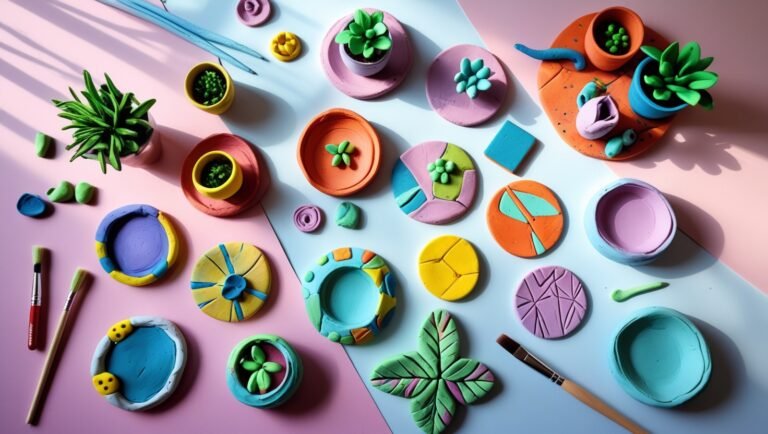
How to Paint, Seal, and Finish Your Clay Art Projects Like a Pro 🎨
Your Clay Art Deserves That Perfect Finishing Touch
So, you’ve shaped your masterpiece—whether it’s a cute mini clay trinket, a quirky mug, or one of those cool clay ideas you found on Pinterest. But now you’re stuck, staring at it, wondering, “How do I actually make this look polished and finished?”
Trust me, I’ve been there. I remember the first time I made a clay pendant; I painted it too soon, skipped sealing it, and—spoiler alert—it chipped the next day. 😬
Whether you’re new to clay art or just want to level up your process, this guide breaks down exactly how to paint, seal, and finish your clay art without stress. Let’s make sure your projects shine as bright as your creativity.
1. Before You Paint: Prepping Your Clay for Success

Why Prepping Matters
Before grabbing your paintbrush, you need to make sure your clay piece is completely dry and smooth. Painting too soon or on a rough surface can mess up all your hard work.
Step-by-Step Prep Checklist:
- Let it cure properly:
- Air-dry clay? Wait 24–72 hours depending on size.
- Polymer clay? Follow the baking instructions (usually 15-30 minutes at 265°F–275°F).
- Sand it smooth:
Use fine-grit sandpaper (around 400–800 grit). Be gentle. Smooth = professional finish. - Wipe off dust:
Use a damp cloth or baby wipe to remove sanding dust. - Prime if needed:
Especially for mini clay art or porous surfaces, a thin layer of white acrylic paint or gesso can make colors pop.
FYI: Skipping this step is like applying makeup without skincare. Not cute. 😅
2. Choosing the Right Paint for Your Clay Art
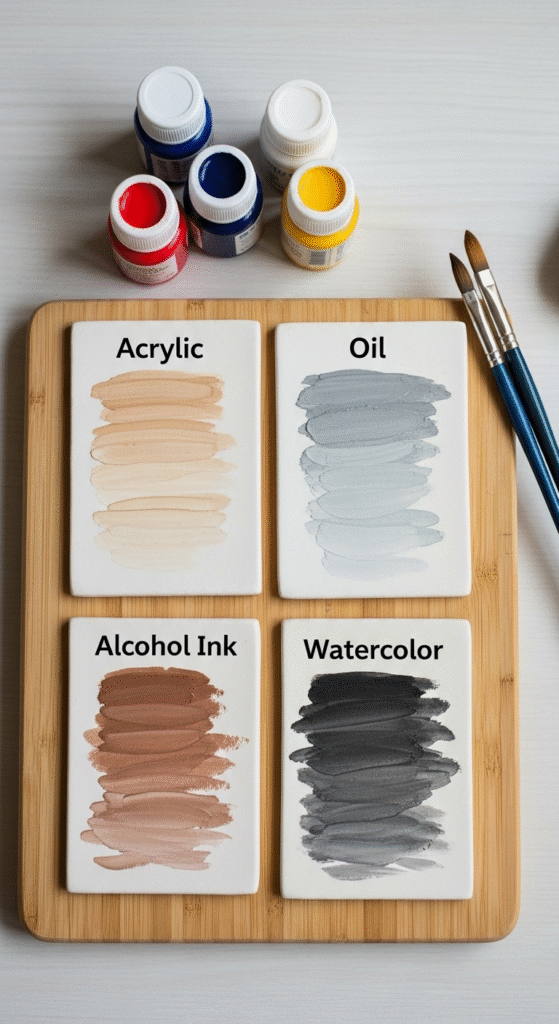
Not all paints are created equal—and yes, some will literally peel off your clay project if you’re not careful.
Best Paint Types for Clay:
| Paint Type | Best For | Pros | Cons |
|---|---|---|---|
| Acrylic Paint | Most clay art ideas | Dries fast, vibrant colors | Needs sealing to protect finish |
| Oil Paint | Advanced, detailed work | Rich texture, slow-drying for blends | Long drying time, requires sealant |
| Alcohol Inks | Cool effects on polymer | Bright, unique patterns | Can bleed; definitely needs sealing |
| Watercolor | Soft, faded looks | Great for subtle tones | Not ideal unless surface is primed |
My Go-To Combo:
Honestly, acrylic paint + a good sealant is the ultimate combo for most easy clay art projects. It’s beginner-friendly and offers stunning results.
3. Let’s Talk Technique: Painting Your Clay Project
A Few Pro Tips Before You Start:
- Use soft brushes to avoid streaks.
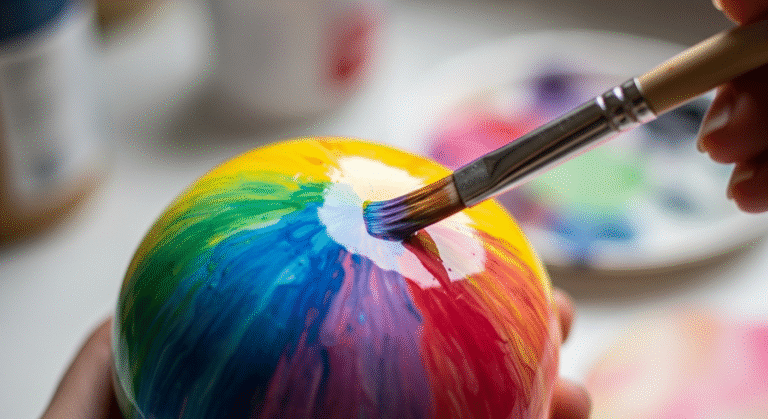
- Work in layers — thin coats always beat one thick blob.
- Let each layer dry before adding the next (patience = perfection).
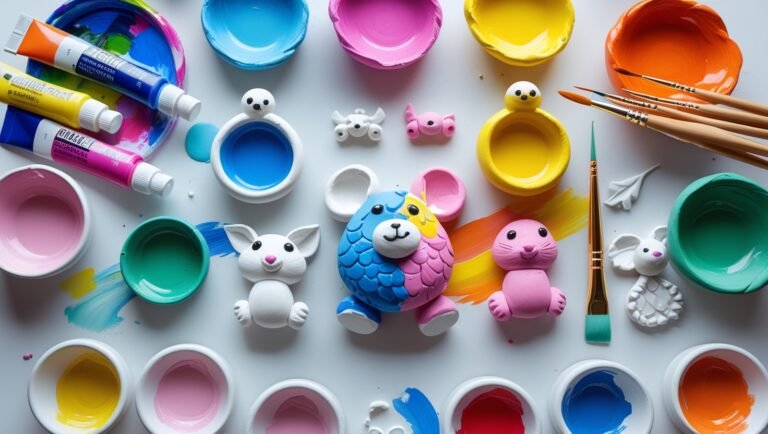
Fun Clay Art Ideas to Try Painting:
- Mini food charms: Add highlights to give that 3D pop!
- Abstract designs: Blend 2–3 acrylic colors for a marbled effect.
- Name or message: Use a fine brush or paint pen to write on tags or pendants.
Bold idea: Mix metallic acrylics into your design to instantly elevate the vibe. ✨
4. Sealing the Deal: How to Protect Your Painted Clay Art
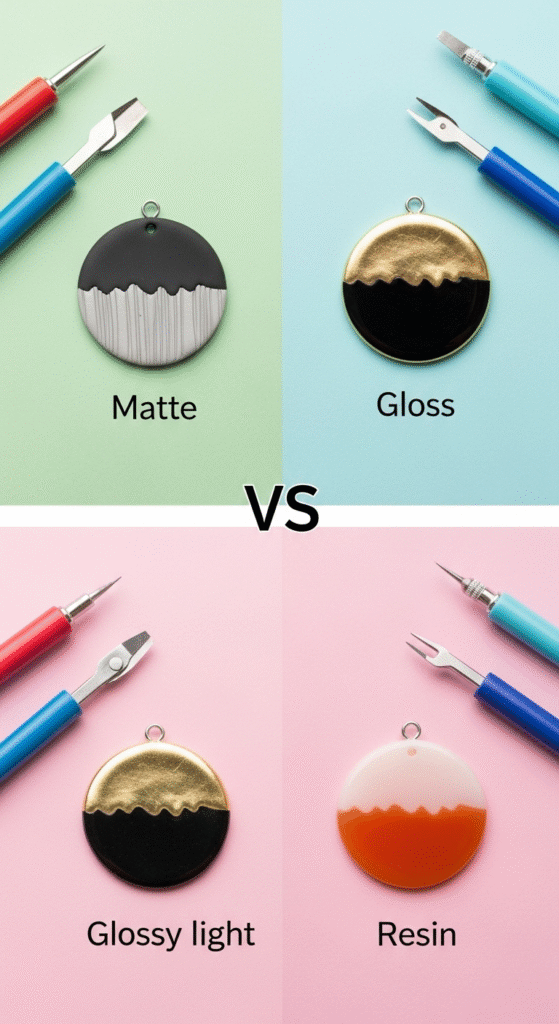
Why Sealing Is Non-Negotiable
After all that painting, sealing locks in the color and adds durability. This is especially crucial if your project is going to be handled, like keychains or jewelry.
Types of Sealants (and When to Use Them):
| Sealant Type | Finish | Water Resistance | Best For |
|---|---|---|---|
| Gloss Varnish | Shiny | Yes | Bright, shiny effects |
| Matte Varnish | No shine | Yes | Natural, soft finishes |
| Mod Podge | Semi-gloss | Somewhat | Quick and easy projects |
| Resin Coating | Super glossy | Very strong | Professional-grade shine |
Application Tips:
- Use a foam brush for smooth strokes.
- Apply 2–3 thin coats, letting each dry fully.
- Avoid humidity when sealing—it can make the finish cloudy.
Pro Tip: Always test sealant on a small piece first to avoid surprise disasters.
5. Finishing Touches That Make Your Clay Art Stand Out
Add Texture or Effects:
- Metallic rub-ons or mica powders for shimmer.
- Embossing powders for a luxe, raised look.
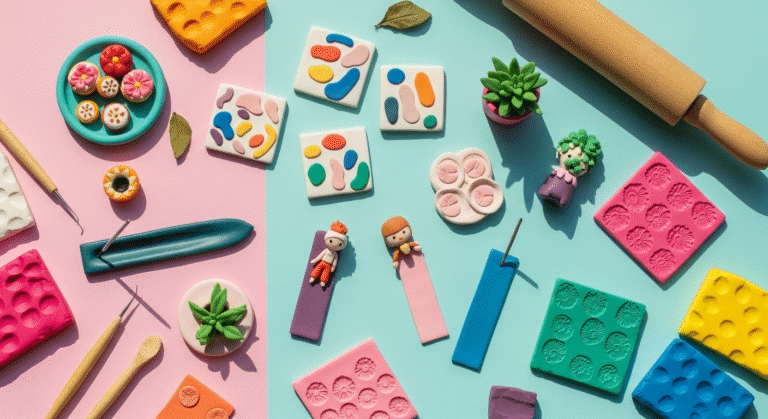
- Stamps to add texture before the clay dries.
Polishing (For Polymer Clay):
If you’re going au naturel (no paint), you can polish polymer clay to a glass-like shine using:
- Wet sanding with super-fine grit sandpaper.
- Buffing with a muslin cloth or rotary tool.
- Optional wax (like Renaissance Wax) for protection.
Add Hardware or Extras:
- Jump rings, keychains, earring hooks for functional items.
- Magnets for fun fridge art.
- Mini clay add-ons like eyes, bows, or labels.
6. Common Mistakes to Avoid (Trust Me, I’ve Made Them All 😅)
❌ Painting before clay is dry/baked.
The paint may flake or crack—always let it cure!
❌ Using the wrong paint.
Watercolor might look cute but will disappear without sealing.
❌ Oversealing.
Too many layers can cause cloudiness or tackiness.
❌ Skipping surface prep.
A dusty, un-sanded surface ruins the final look.
Want your clay art to go from “meh” to “wow”? Avoid these and you’re golden.
7. Fun Project Ideas to Try Next
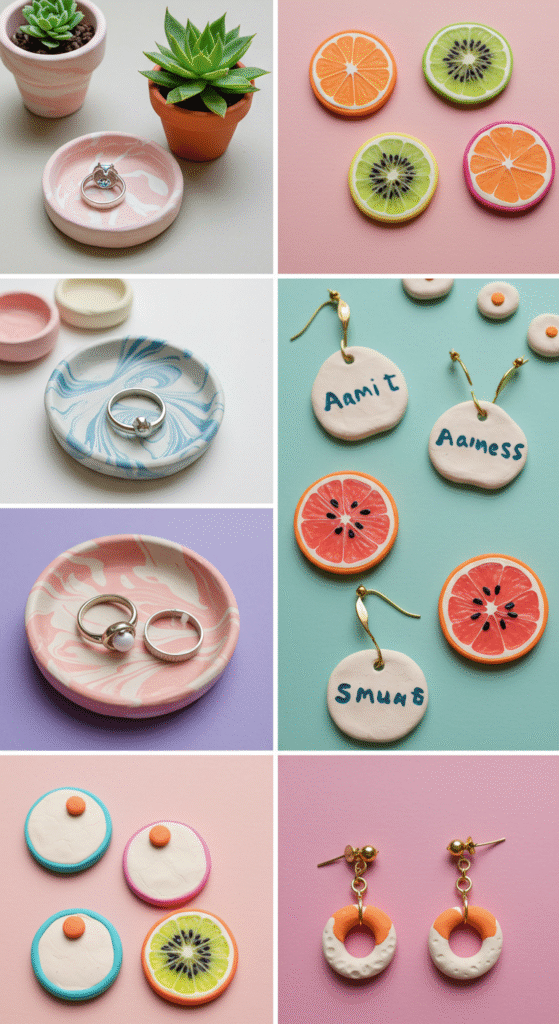
Feeling inspired? Here are a few things to make out of clay that are perfect for testing your painting + sealing skills:
- Clay earrings with bold patterns
- Mini succulent pots with ombré colors
- Personalized name tags with metallic finish
- Clay magnets shaped like fruit or animals
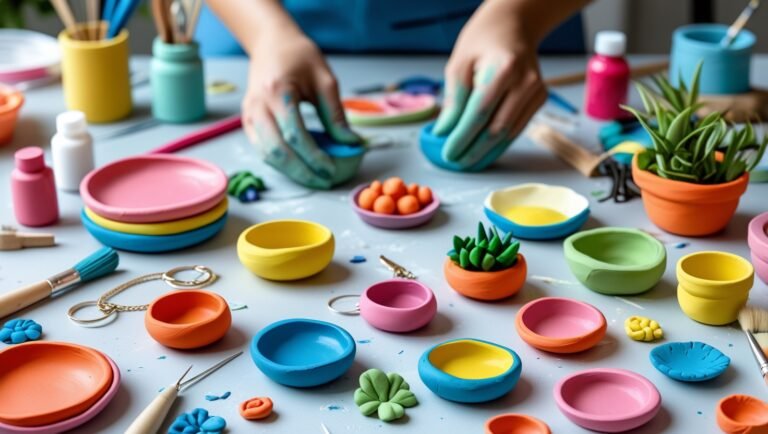
- Ring dishes with marbled effects
These clay art ideas aren’t just adorable—they’re beginner-friendly and super customizable!
Conclusion: You’ve Got This—Now Go Finish That Clay Like a Pro
Painting, sealing, and finishing your clay art may seem like a lot—but once you try it, it becomes second nature. With the right tools, a bit of patience, and this guide in your back pocket, you’ll be creating professional-looking clay pieces in no time.
Remember, every project teaches you something new. And hey—don’t stress if it’s not perfect. That’s part of the charm. 💛
So what’s your next clay adventure going to be? Got a mini clay art project waiting to be finished? Go grab that brush and seal the deal—literally.
BONUS TIP:
Tag me on your next clay creation if this helped. Sharing your wins is half the fun. Let’s keep the creativity rolling! 🎉

