How to Glaze Air Dry Clay (Without Losing Your Mind 😅)
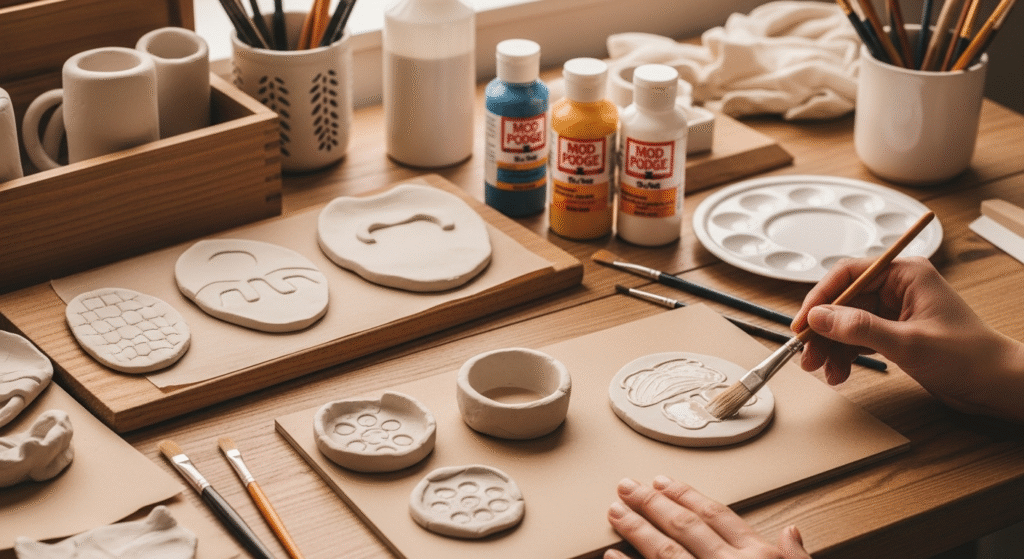
So, you’ve just finished sculpting your masterpiece with air dry clay, and now you’re staring at it like: “Okay… now what?” Been there! You want that glossy, professional finish—but wait, can you even glaze air dry clay like the stuff you bake in a kiln?
The short answer: YES, you absolutely can! And you don’t need a fancy kiln or studio setup to do it. In this guide, I’ll walk you through how to glaze air dry clay the easy-peasy way, with some helpful tips I wish someone had told me when I first started. 😄
Let’s dive in, fellow clay lover!
What Is Air Dry Clay Glazing Anyway?
Before we get messy, let’s get clear on what we mean by “glazing” air dry clay.
Unlike traditional ceramic glaze that needs to be fired in a kiln (at crazy-high temps), air dry clay glaze is all about adding a glossy or sealed finish using materials like:
- Glossy varnish
- Acrylic sealers
- Mod Podge
- Even resin if you’re feelin’ fancy!
These alternatives can make your pieces water-resistant, shiny, and oh-so-polished—without any baking involved.
Why Glaze Air Dry Clay?
Still on the fence about glazing? Here’s why you totally should:
💧 Protection from Moisture
Air dry clay is porous—even after drying, it can absorb moisture. Glazing seals the surface and helps prevent your art from turning into mush (especially important if you’re making coasters, plant pots, or decorative trays).
✨ Aesthetic Glow-Up
Want that smooth, shiny, “Did you really make that by hand?” look? A proper glaze adds that professional touch.
🖐 Better Durability
Whether it’s kids’ crafts or home décor, a good glaze adds a protective layer that helps prevent scratches, chipping, and other mini disasters.
Supplies You’ll Need to Glaze Air Dry Clay
Before we get into the actual steps, here’s a checklist of everything you might need.
✅ Basic Supplies:
- Your fully dried air dry clay creation (important: fully dry!)
- Soft brushes or sponge applicators
- A clean, dust-free workspace
🎨 Glazing Options:
- Acrylic varnish (matte, satin, or glossy)
- Mod Podge (classic go-to)
- Resin (for that ultra-gloss, glass-like finish)
- Spray sealers (for quick coverage)
Pro Tip: Always test your glaze on a small piece first! Not all products behave the same on different clays.
Step-by-Step Guide: How to Glaze Air Dry Clay Like a Pro
Alright, now the fun begins. Here’s your step-by-step roadmap to a glossy, flawless finish.
Step 1: Make Sure Your Clay is Bone Dry
Let your piece dry for at least 48–72 hours, depending on its thickness. Touch it—does it feel cool or moist? If yes, it’s not ready yet. Patience, my friend!
Step 2: Sand If Needed (Optional)
If you want a super smooth finish:
- Lightly sand your piece with fine-grit sandpaper (220 grit).
- Wipe off any dust with a damp cloth (just a little moisture).
Step 3: Paint Before You Glaze
Use acrylic paints for best results. Let the paint completely dry before glazing. No shortcuts here!
Step 4: Choose Your Glaze
Pick your poison:
- Want subtle shine? Go for matte varnish.
- Want glam gloss? Glossy Mod Podge is your BFF.
- Want glass-like drama? Try resin—just be careful, it’s a little advanced.
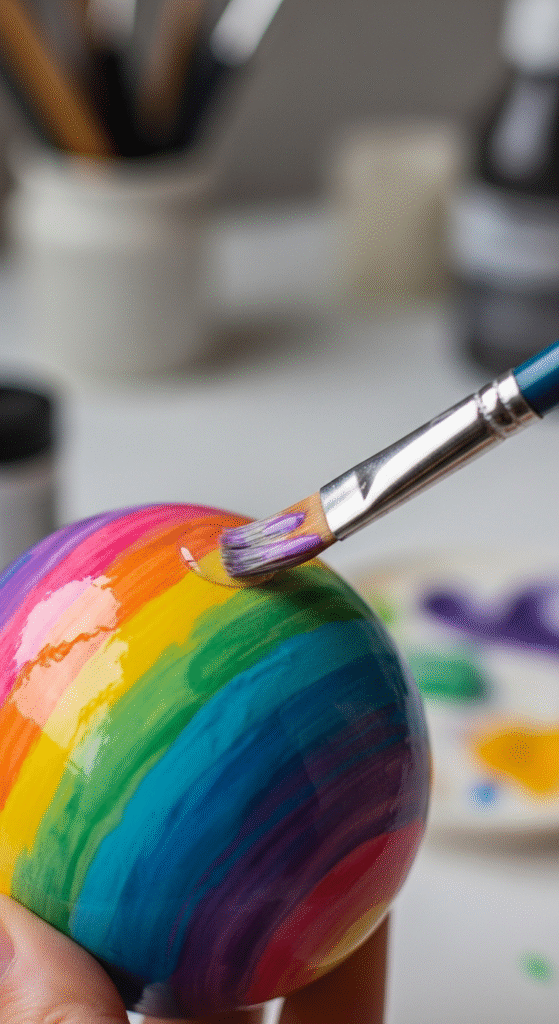
Step 5: Apply Thin, Even Coats
- Dip your brush or sponge and apply a thin coat of glaze.
- Let it dry for 15–30 mins (or as per product instructions).
- Repeat for 2–3 coats for that rich, glossy finish.
Step 6: Dry and Cure
Let it dry completely—don’t touch it too soon! For spray sealers and resin, cure times may vary (resin can take 24+ hours).
Best Glazing Options for Air Dry Clay (Pros & Cons)
Let’s break down the most popular air dry clay glaze choices to help you pick the right one:
1. Mod Podge
Pros:
- Easy to apply
- Affordable
- Dries clear
Cons:
- Slightly tacky in humid environments
- Not fully waterproof
2. Acrylic Varnish
Pros:
- Comes in matte, satin, or glossy
- Durable
- Great for both indoor and outdoor pieces
Cons:
- Brush marks can appear if not applied smoothly
3. Spray Sealer
Pros:
- Quick and even application
- No brush strokes
Cons:
- Requires good ventilation
- Can be tricky for small details
4. Resin (Epoxy)
Pros:
- Ultra-glossy finish
- Super durable and waterproof
Cons:
- Requires precise mixing
- More expensive and messy
Read Also: Best paints for Air dry clay
Tips & Tricks to Nail the Glazing Process
Want to avoid rookie mistakes? Here are some pro tips:
- Never glaze damp clay – it will trap moisture and ruin the finish.
- Use soft synthetic brushes – less streaking, better coverage.
- Apply in thin layers – thick coats can crack or dry unevenly.
- For a bubble-free resin finish, use a heat gun or torch to pop surface bubbles.
- Add a final UV-resistant spray if you’re placing your piece in sunlight.
Glazing Decorative vs. Functional Pieces
Not all clay art is created equal! Let’s talk intent:
For Decorative Items:
- Any glaze will do.
- Focus on finish (glossy or matte).
- Feel free to get creative with glitter or shimmer additives!
For Functional Items (like trays or coasters):
- Use waterproof sealants.
- Apply extra coats for better protection.
- Consider resin for high-contact surfaces.
FYI: Air dry clay, even glazed, is not food-safe—so keep it decorative!
Frequently Asked Questions (FAQs)
Can I use nail polish as a glaze?
Yes… but with caution. Nail polish can yellow over time and may crack. Use it only on small pieces and decorative parts.
How do I fix streaks in my glaze?
Try a light sanding between coats, or switch to a sponge applicator for smoother application.
Is glazing necessary?
Nope—but if you want your clay art to last longer and look fancier, it’s 100% worth it. ✨
Final Thoughts: Your Clay, Your Rules 🎨
There you have it—your ultimate guide on how to glaze air dry clay without a kiln, stress, or mystery chemicals. Whether you’re crafting a cute trinket dish, an intricate sculpture, or just having fun with the kids, a good glaze can take your clay art from “meh” to “masterpiece.”
So, go ahead—paint, seal, shine, and show it off! 🙌
And hey, if you mess up? That’s part of the fun. You’ll learn what works for you—because clay art isn’t about perfection; it’s about creativity, patience, and a little bit of magic.


